Stained, etched, & fused glass
- CategoryFor fun
- Project dateSpring 2020-Fall 2023
- Skills usedGlass etching, glass cutting, Adobe Illustrator, soldering
About this
Stained glass
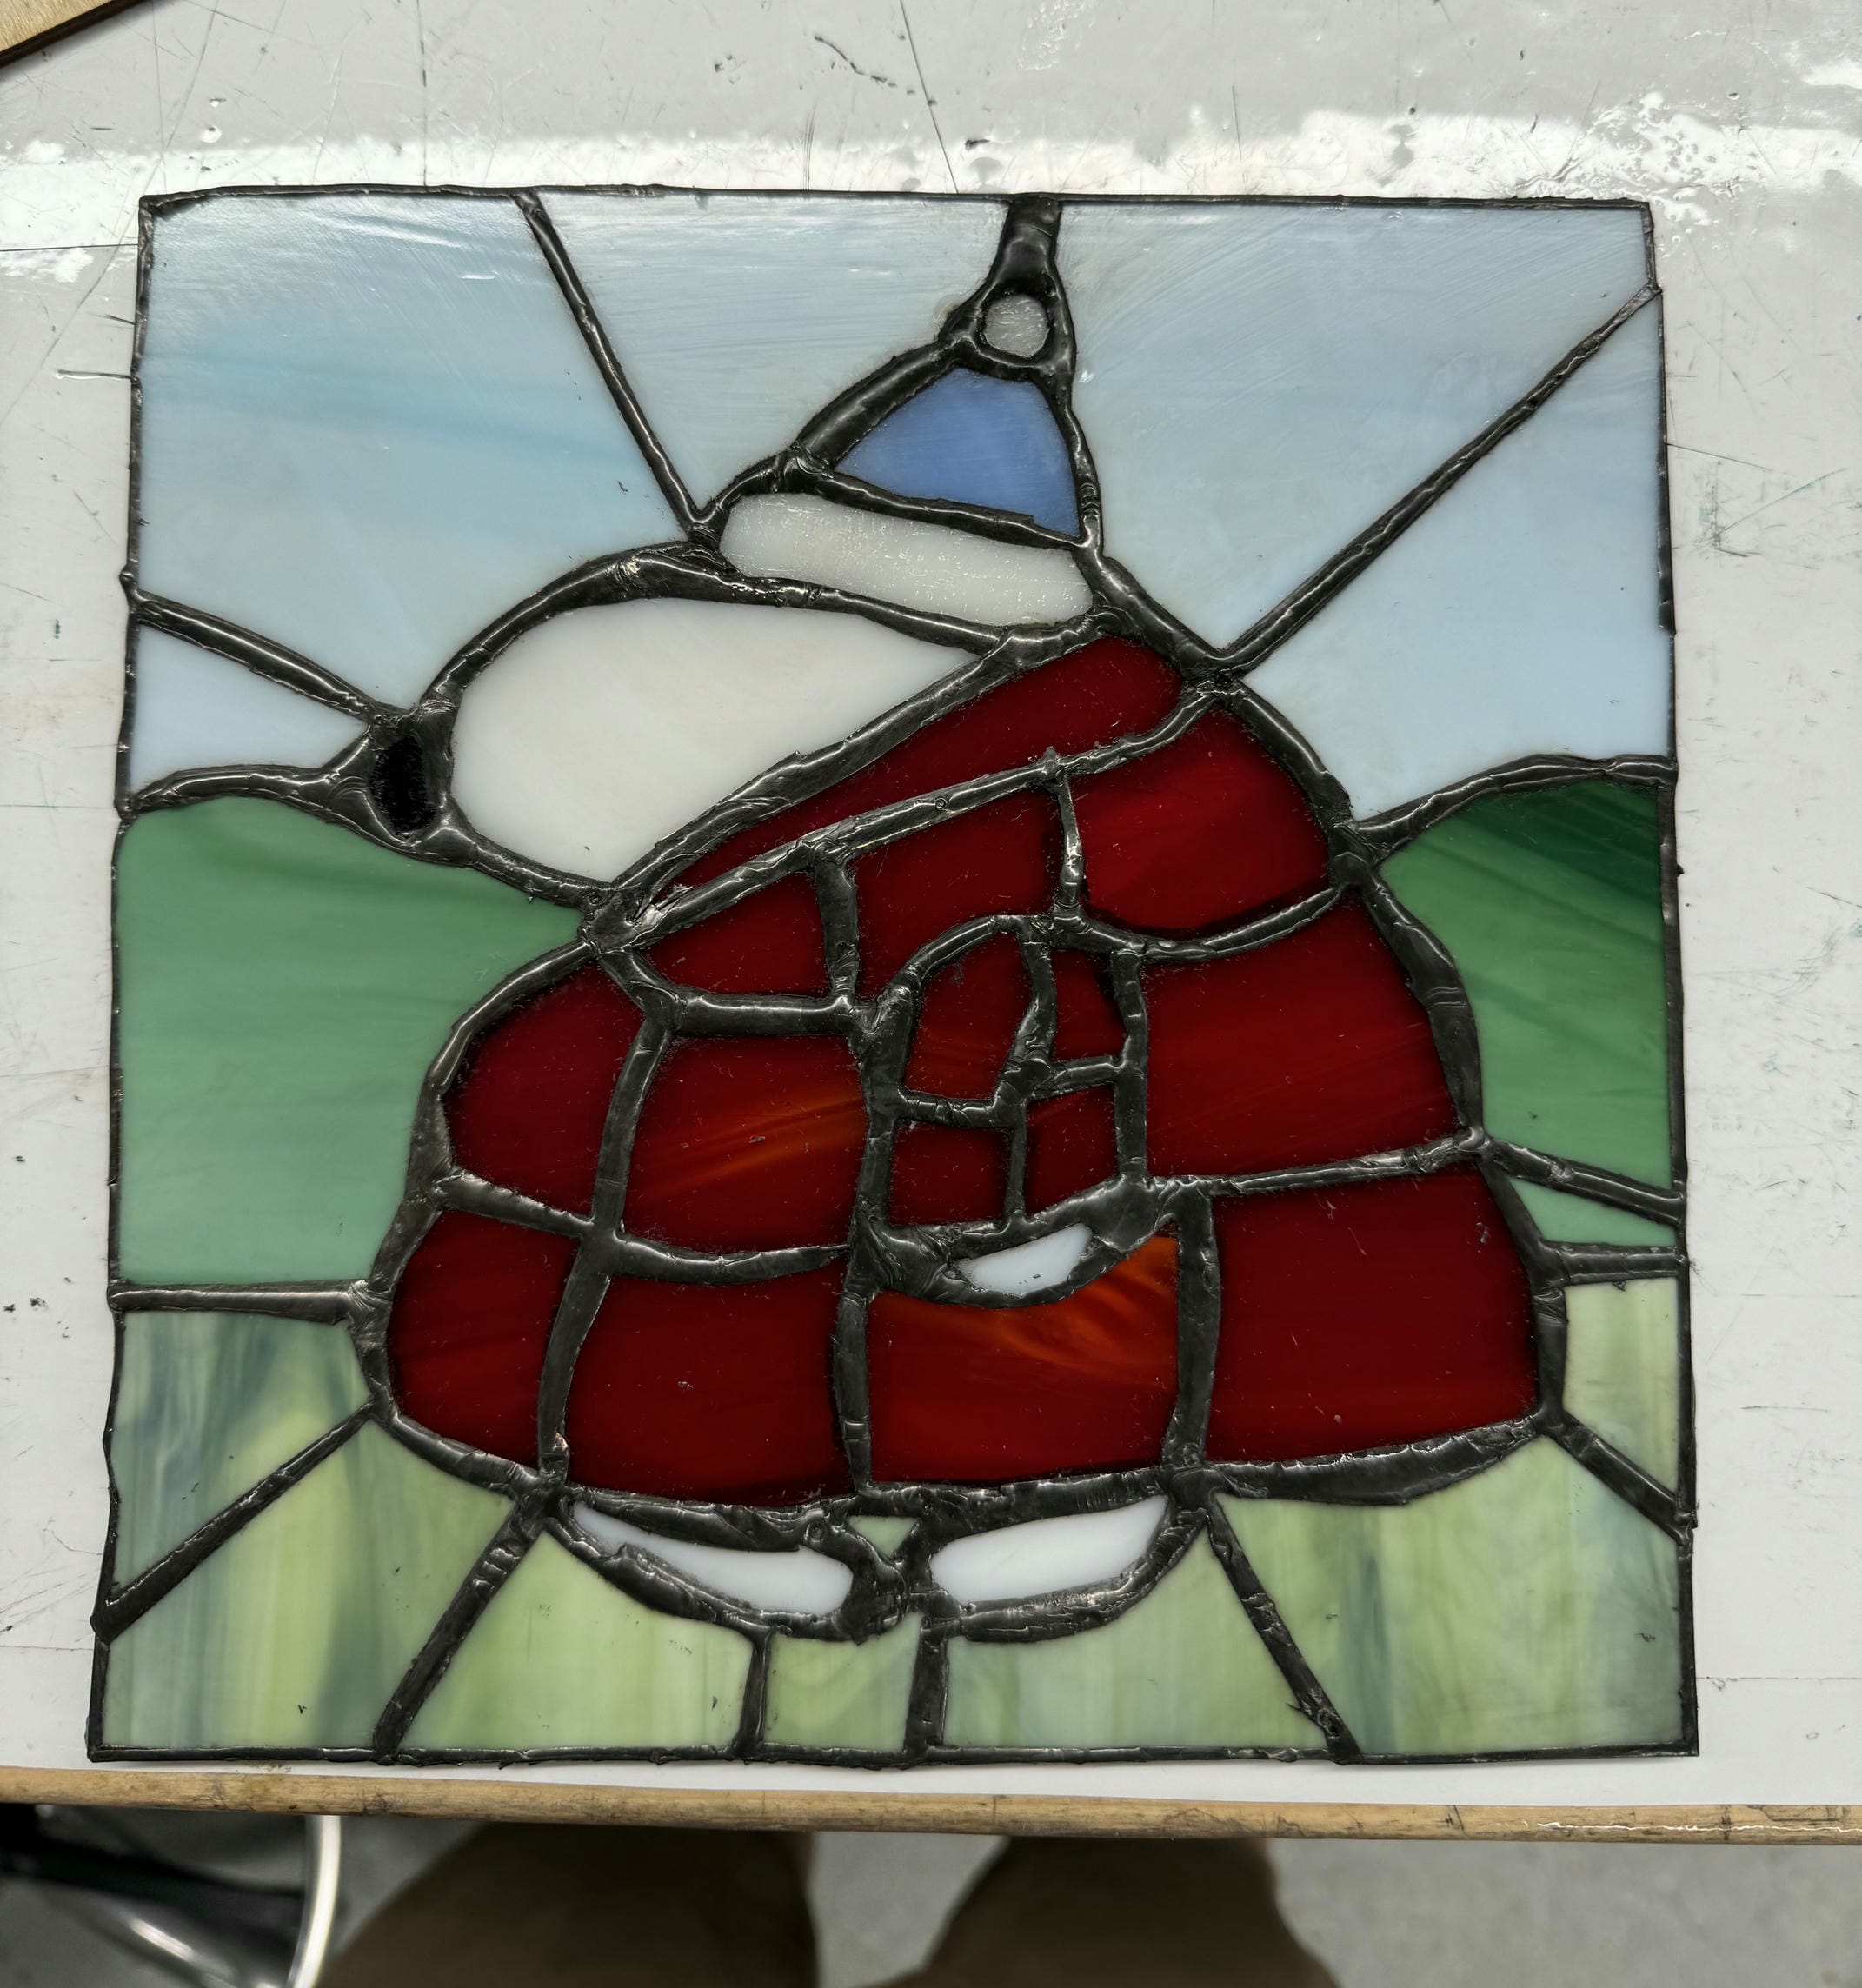
I first created my design in Illustrator. I decided to make Snoopy in puffer jackets because it had distinct linework and geometry which could be easily segmented into shapes. I began tracing reference images online, using around 4 pt line width to simulate roughly how thick the seams between each piece of glass would be. A bit of design advice: straight lines are generally a lot easier to cut, and concave corners are quite hard to cut out. You might need to cut large pieces into smaller segments to get your design to work. Cutting each piece by hand was a bit tedious though, so next time I will waterjet these. I created a JavaScript script which runs in Illustrator to separate each shape onto different layers, and then exports each layer as a DXF one by one. This script will be super helpful for large glass pieces, which could have many parts.
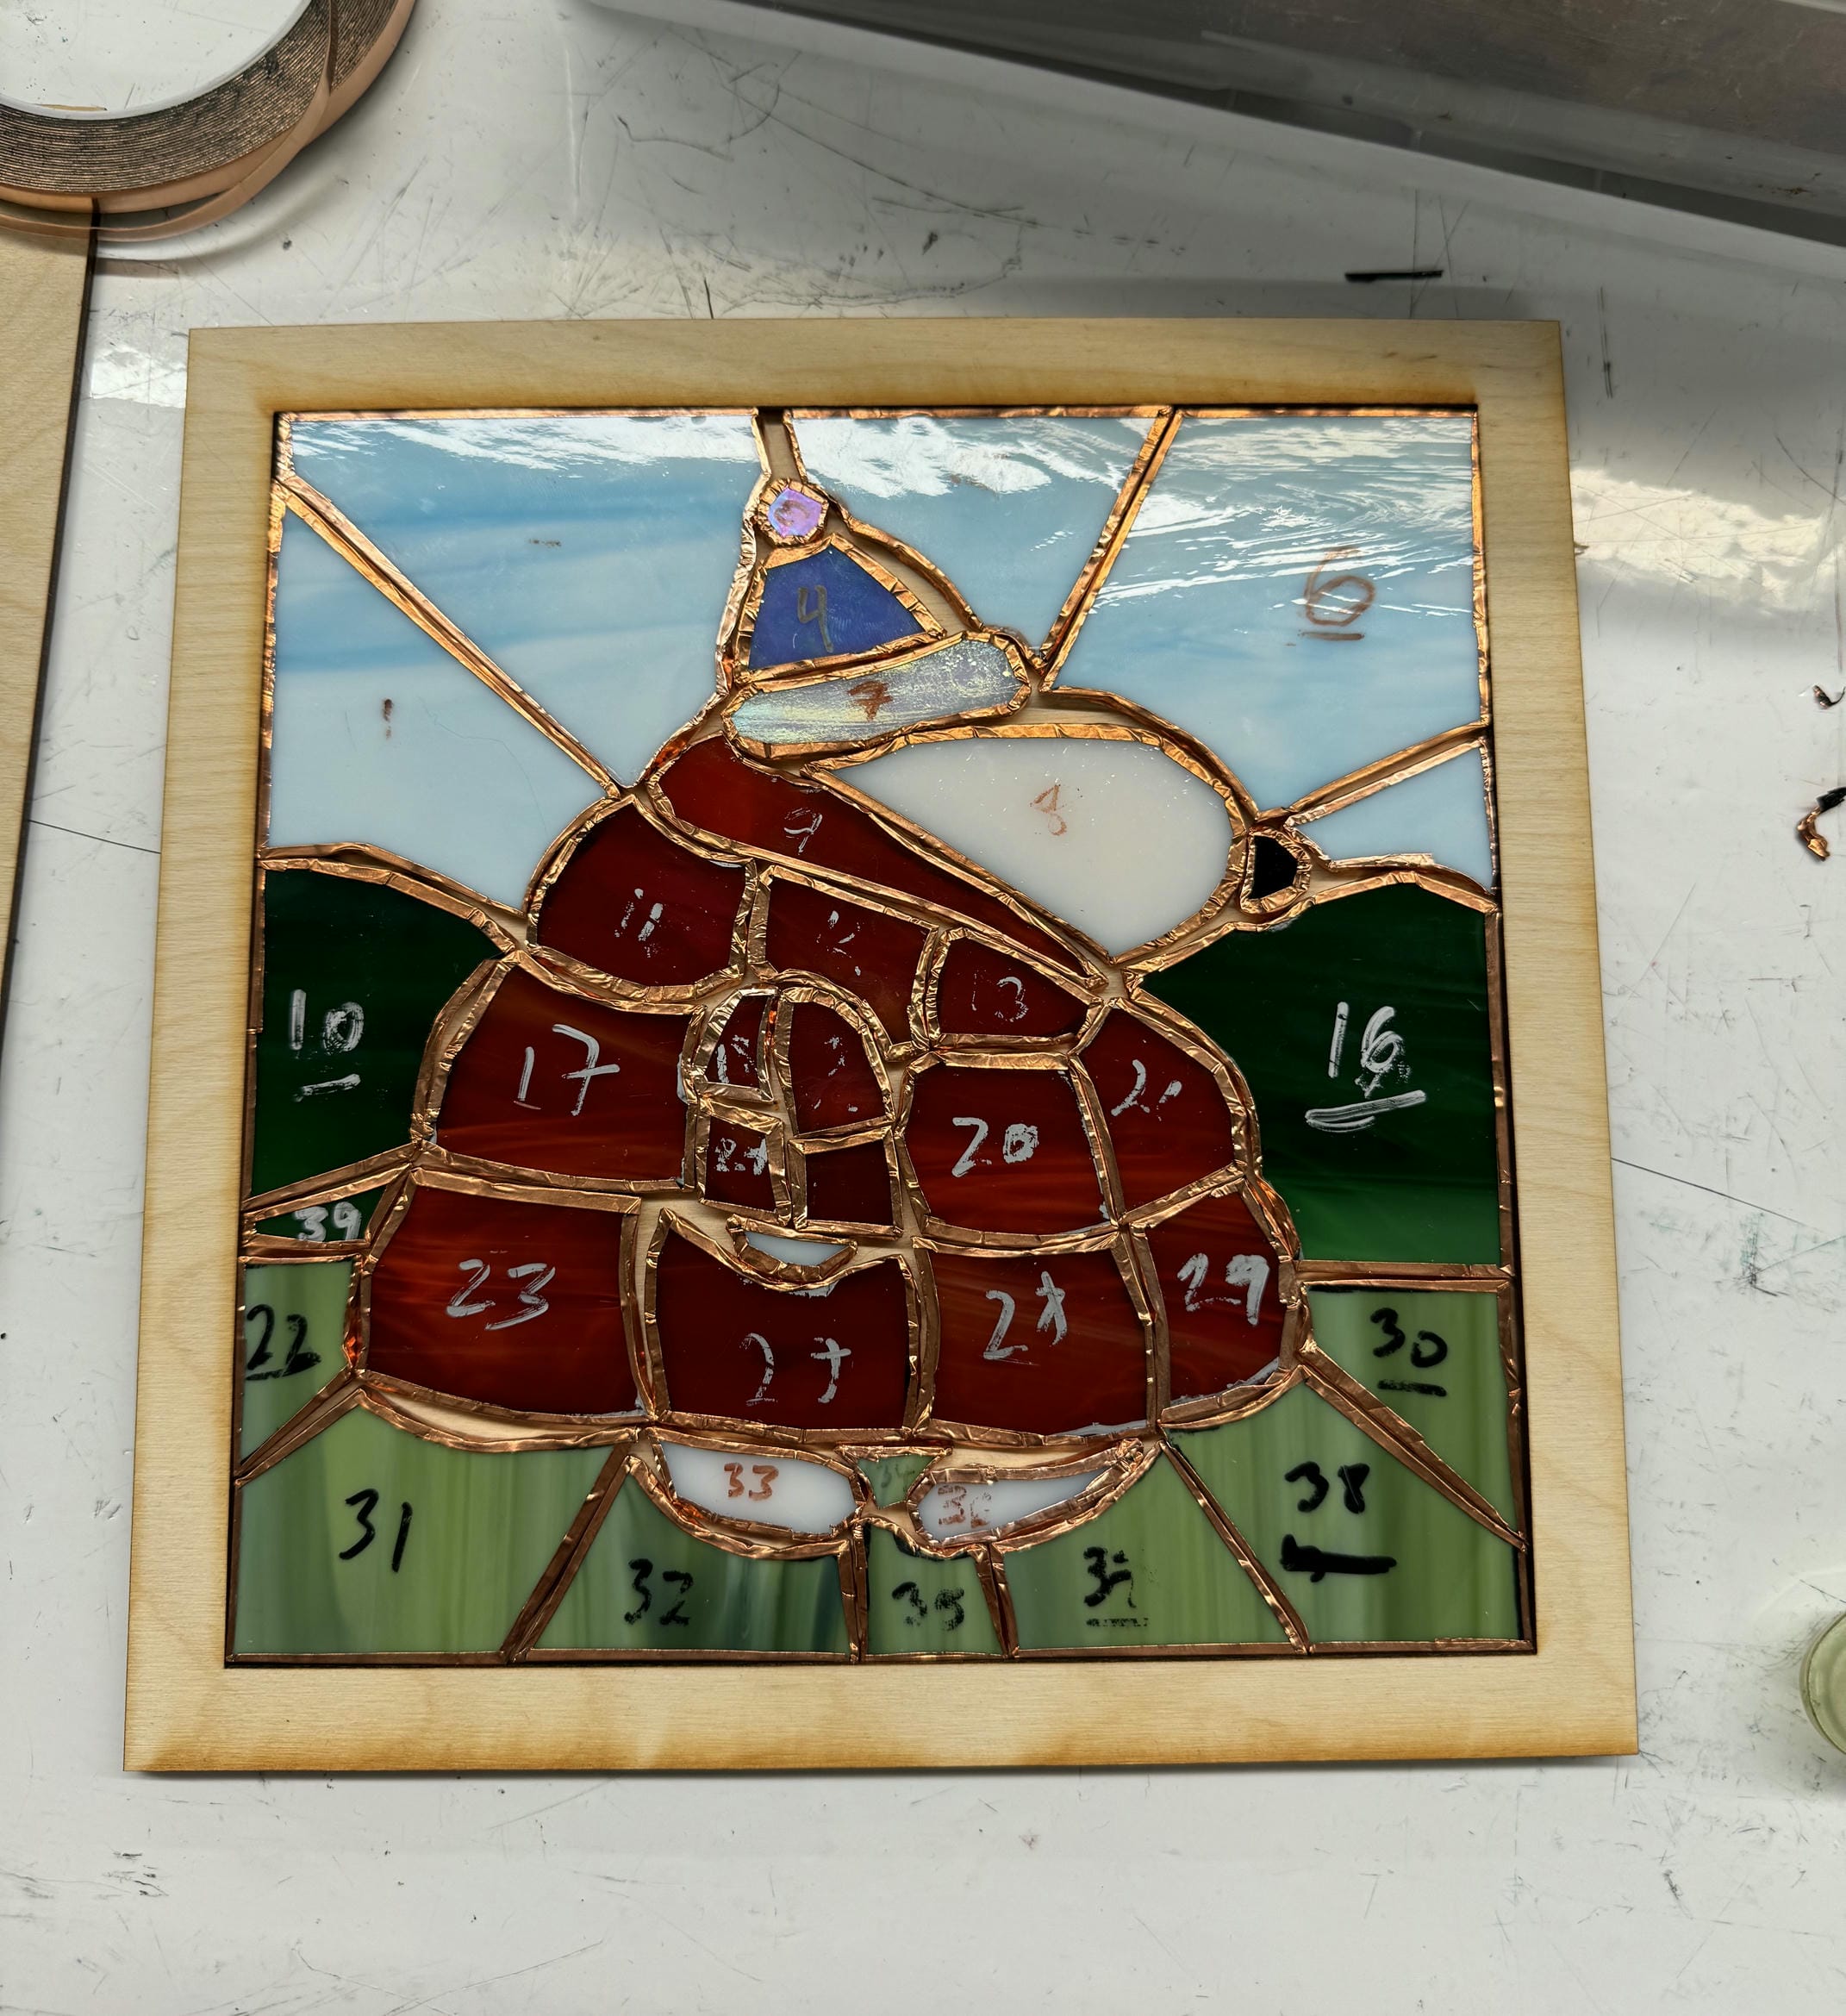
After creating my pattern, I printed it out, cut out and numbered each piece so I could keep track of them. I then began cutting out each piece of glass using pliers, running pliers, and glass scorers.
I took my glass pieces and lined each in foil on the sides, then soldered each of the pieces together. This isn't the same solder you use for electronics, as it has a higher melting temperature, but the process feels similar, where you use the hot iron to melt the metal and apply it to the surface. Lastly, I applied a patina to the solder to turn it black, and wiped off the Sharpie and flux with IPA.
Here is what my completed project looked like! I really enjoyed this process, and minus the design time, it only takes three to four hours to do a small piece like this. I can't wait to make more!
Glass fusion
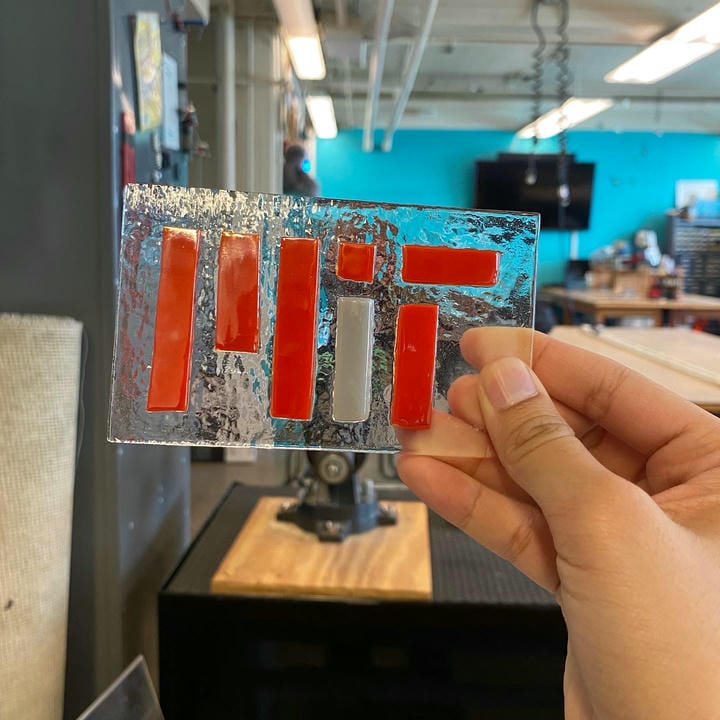
This project used a technique called glass fusion. You simply cut out your design in glass by scoring and strategically cracking it, then glue your pieces onto a piece of paper and to each other. I decided to start out with the MIT logo since it's comprised mostly of straight lines, which are the easiest to score and break cleanly.
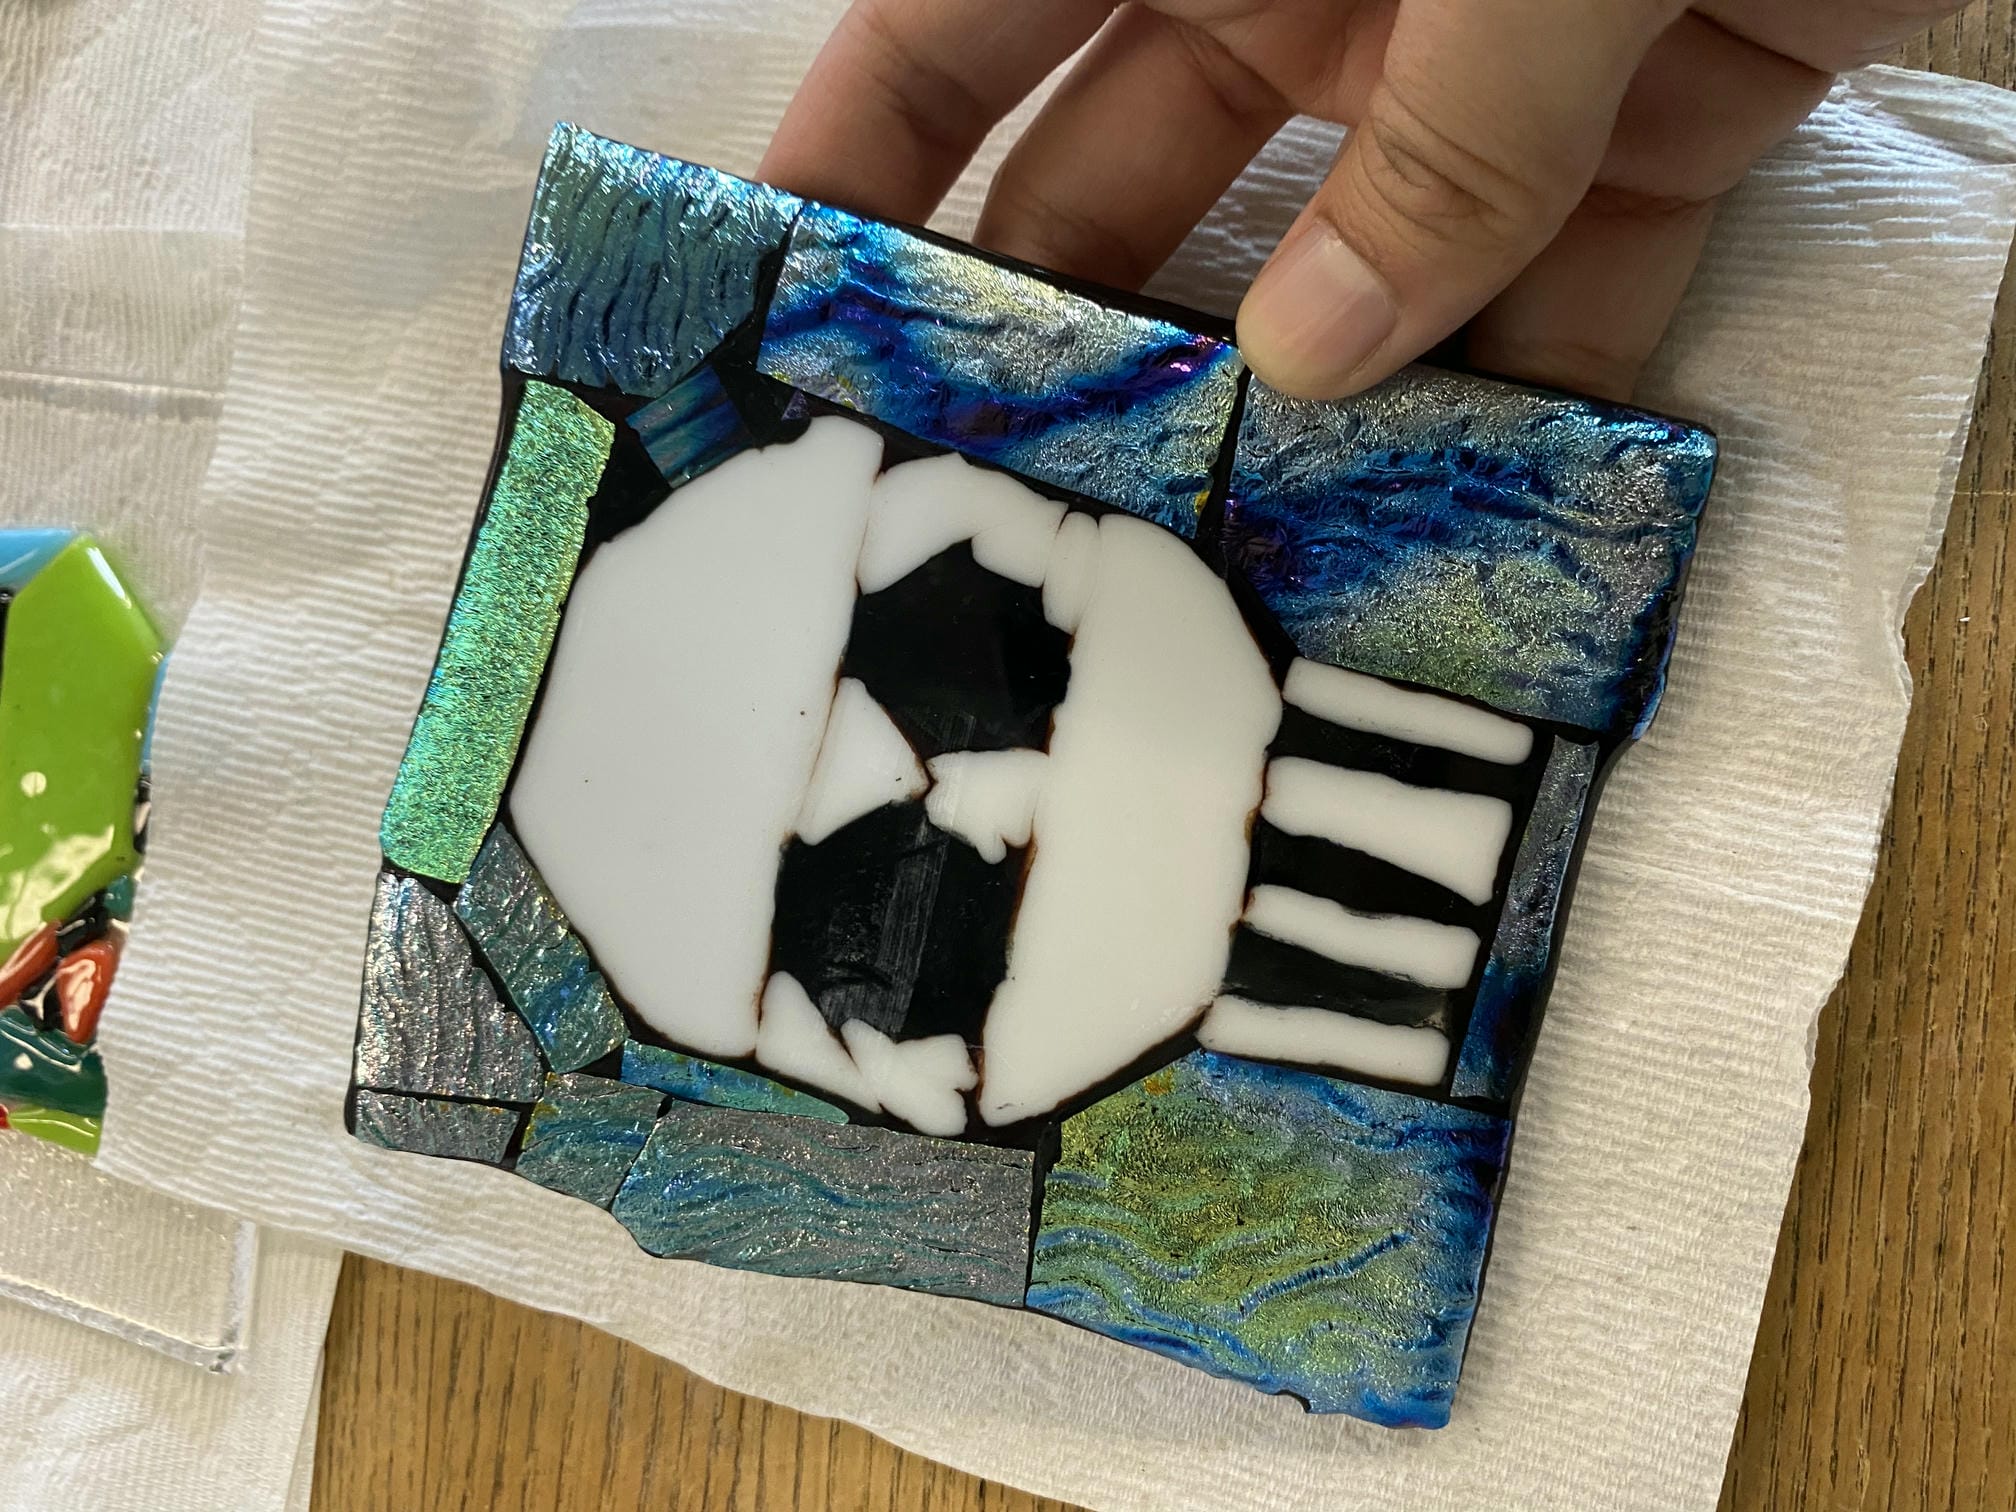
The kiln then methodically heats and cools the glass so that pieces fuse together without building up stress which could crack it. Depending on where in the kiln you place it, you can get differing amounts of melting occurring (compare the MIT one with the skull one here). When it comes out of the kiln, the paper basically disintegrates and the glue disappears. Super simple and beautiful!
Glass etching
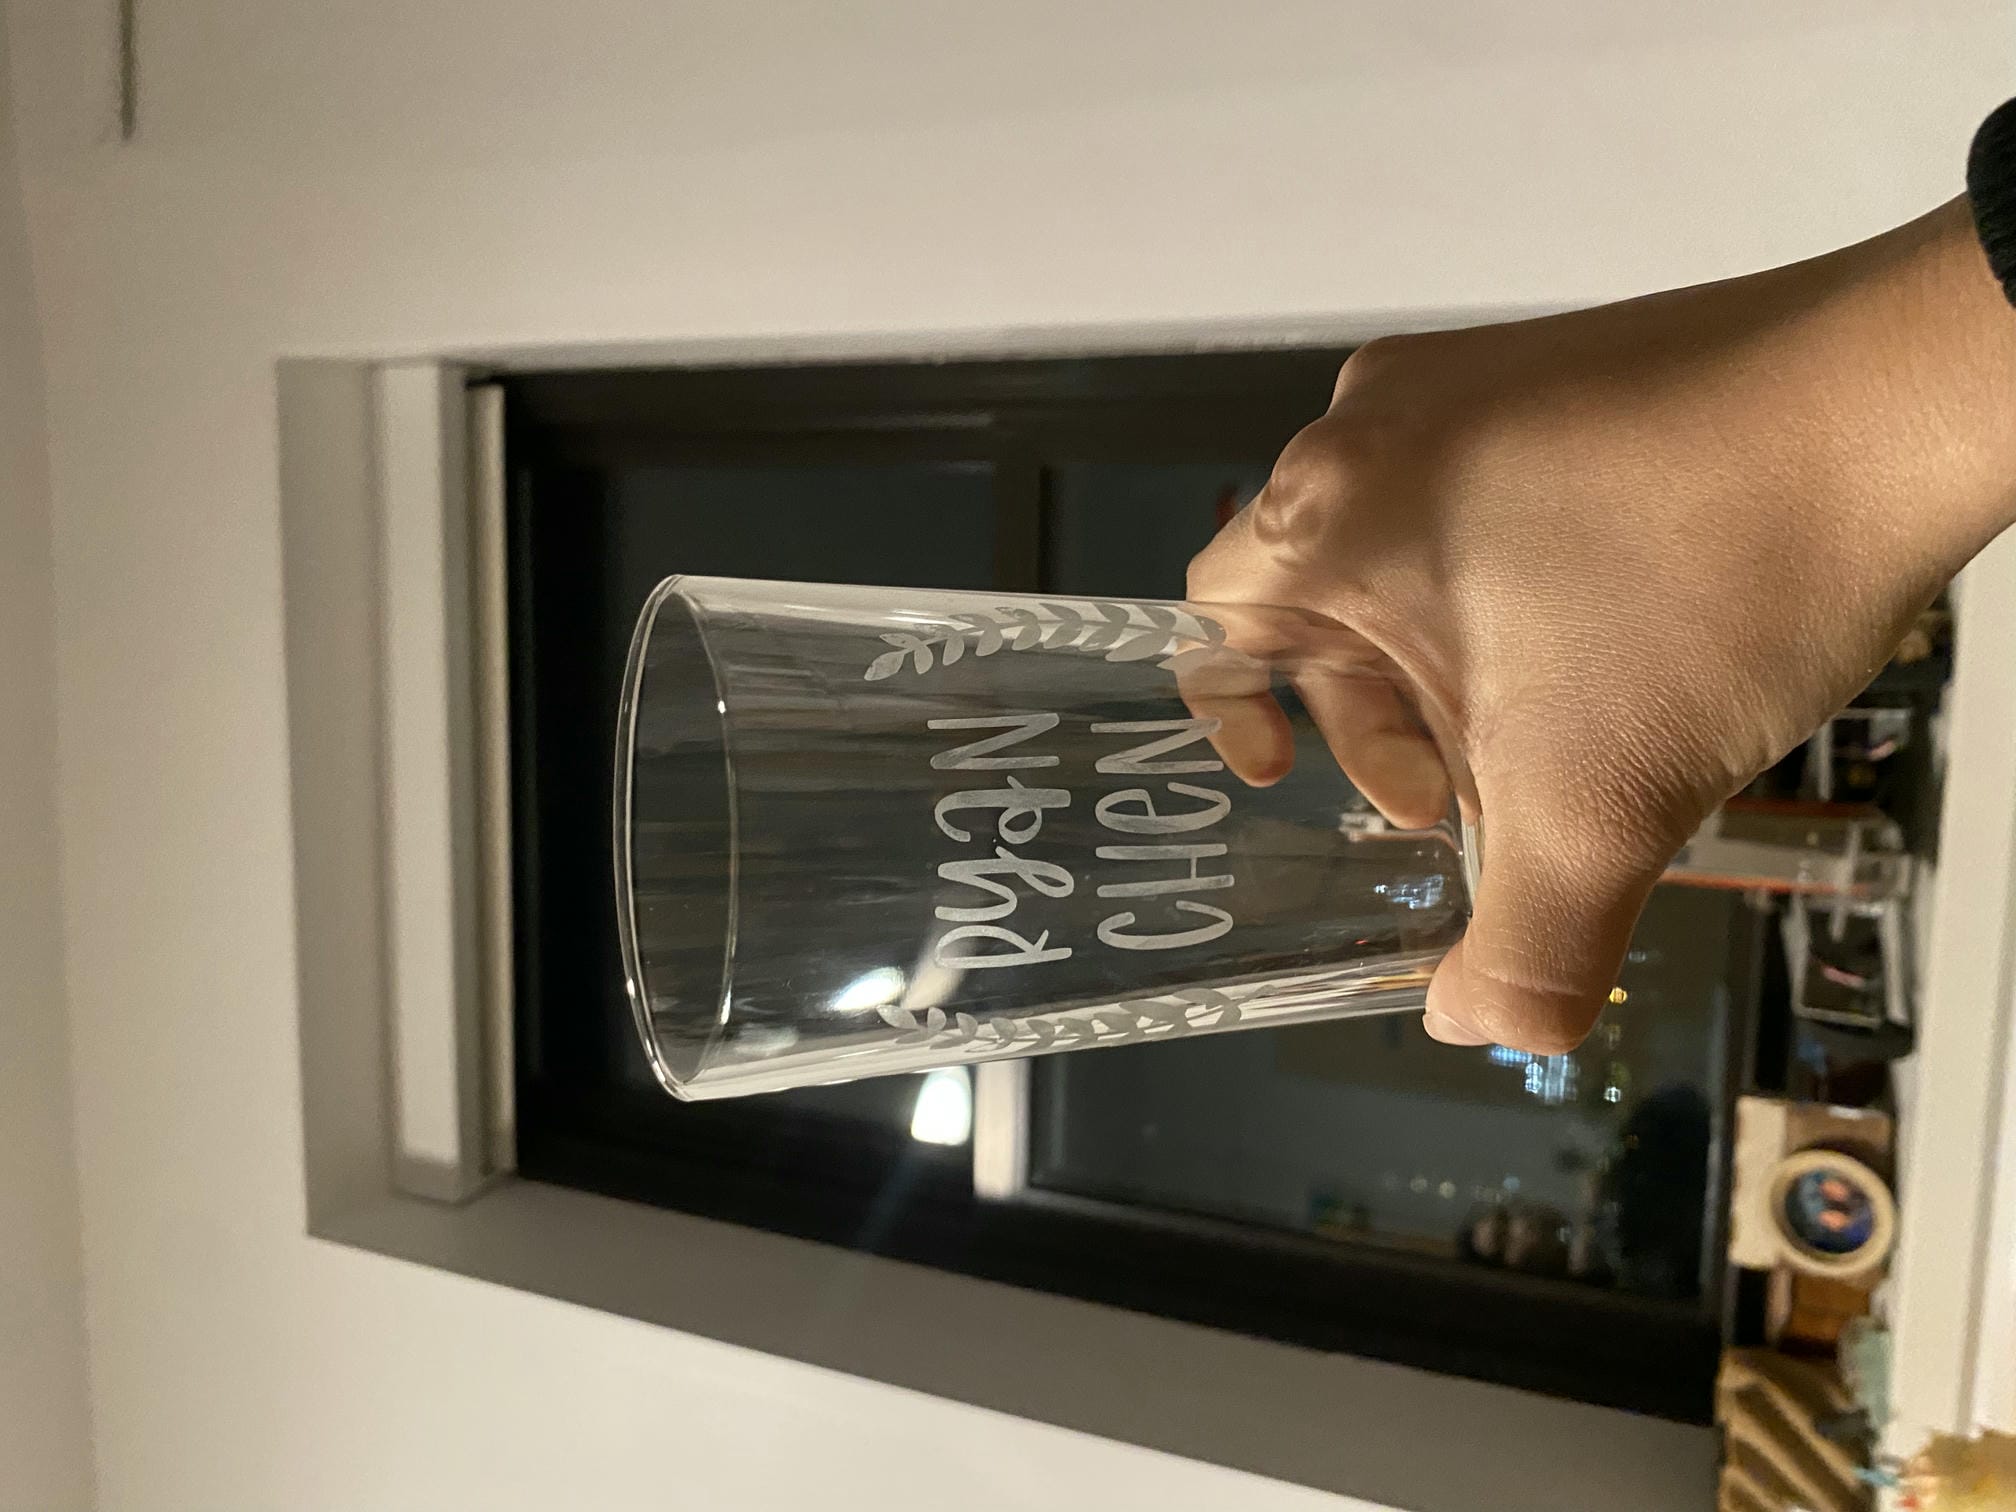
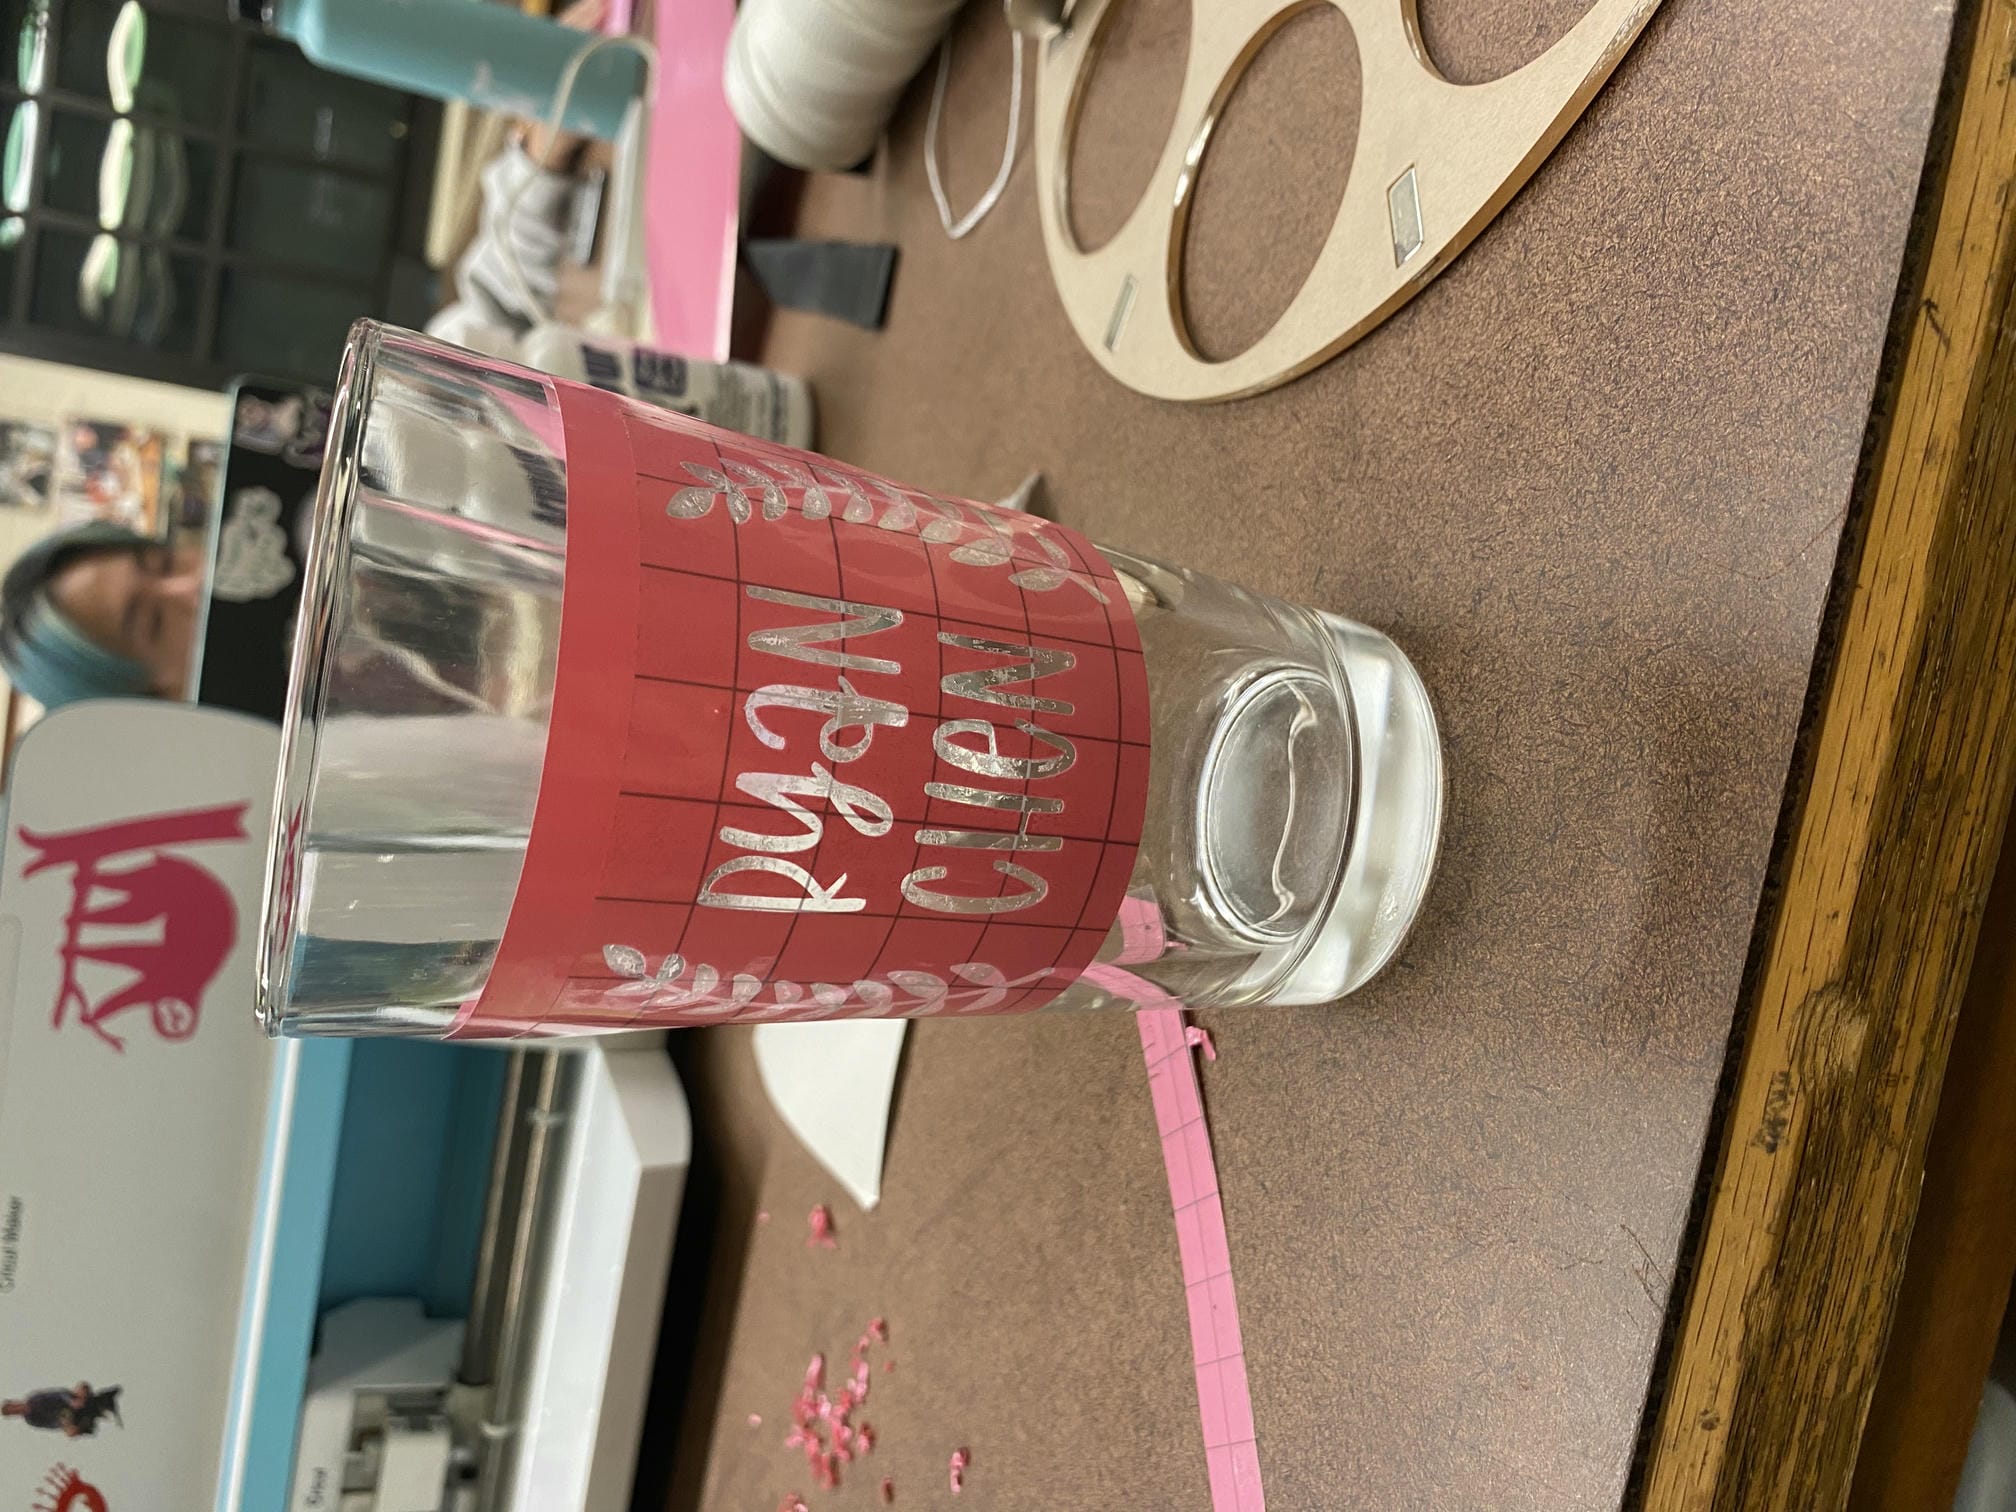
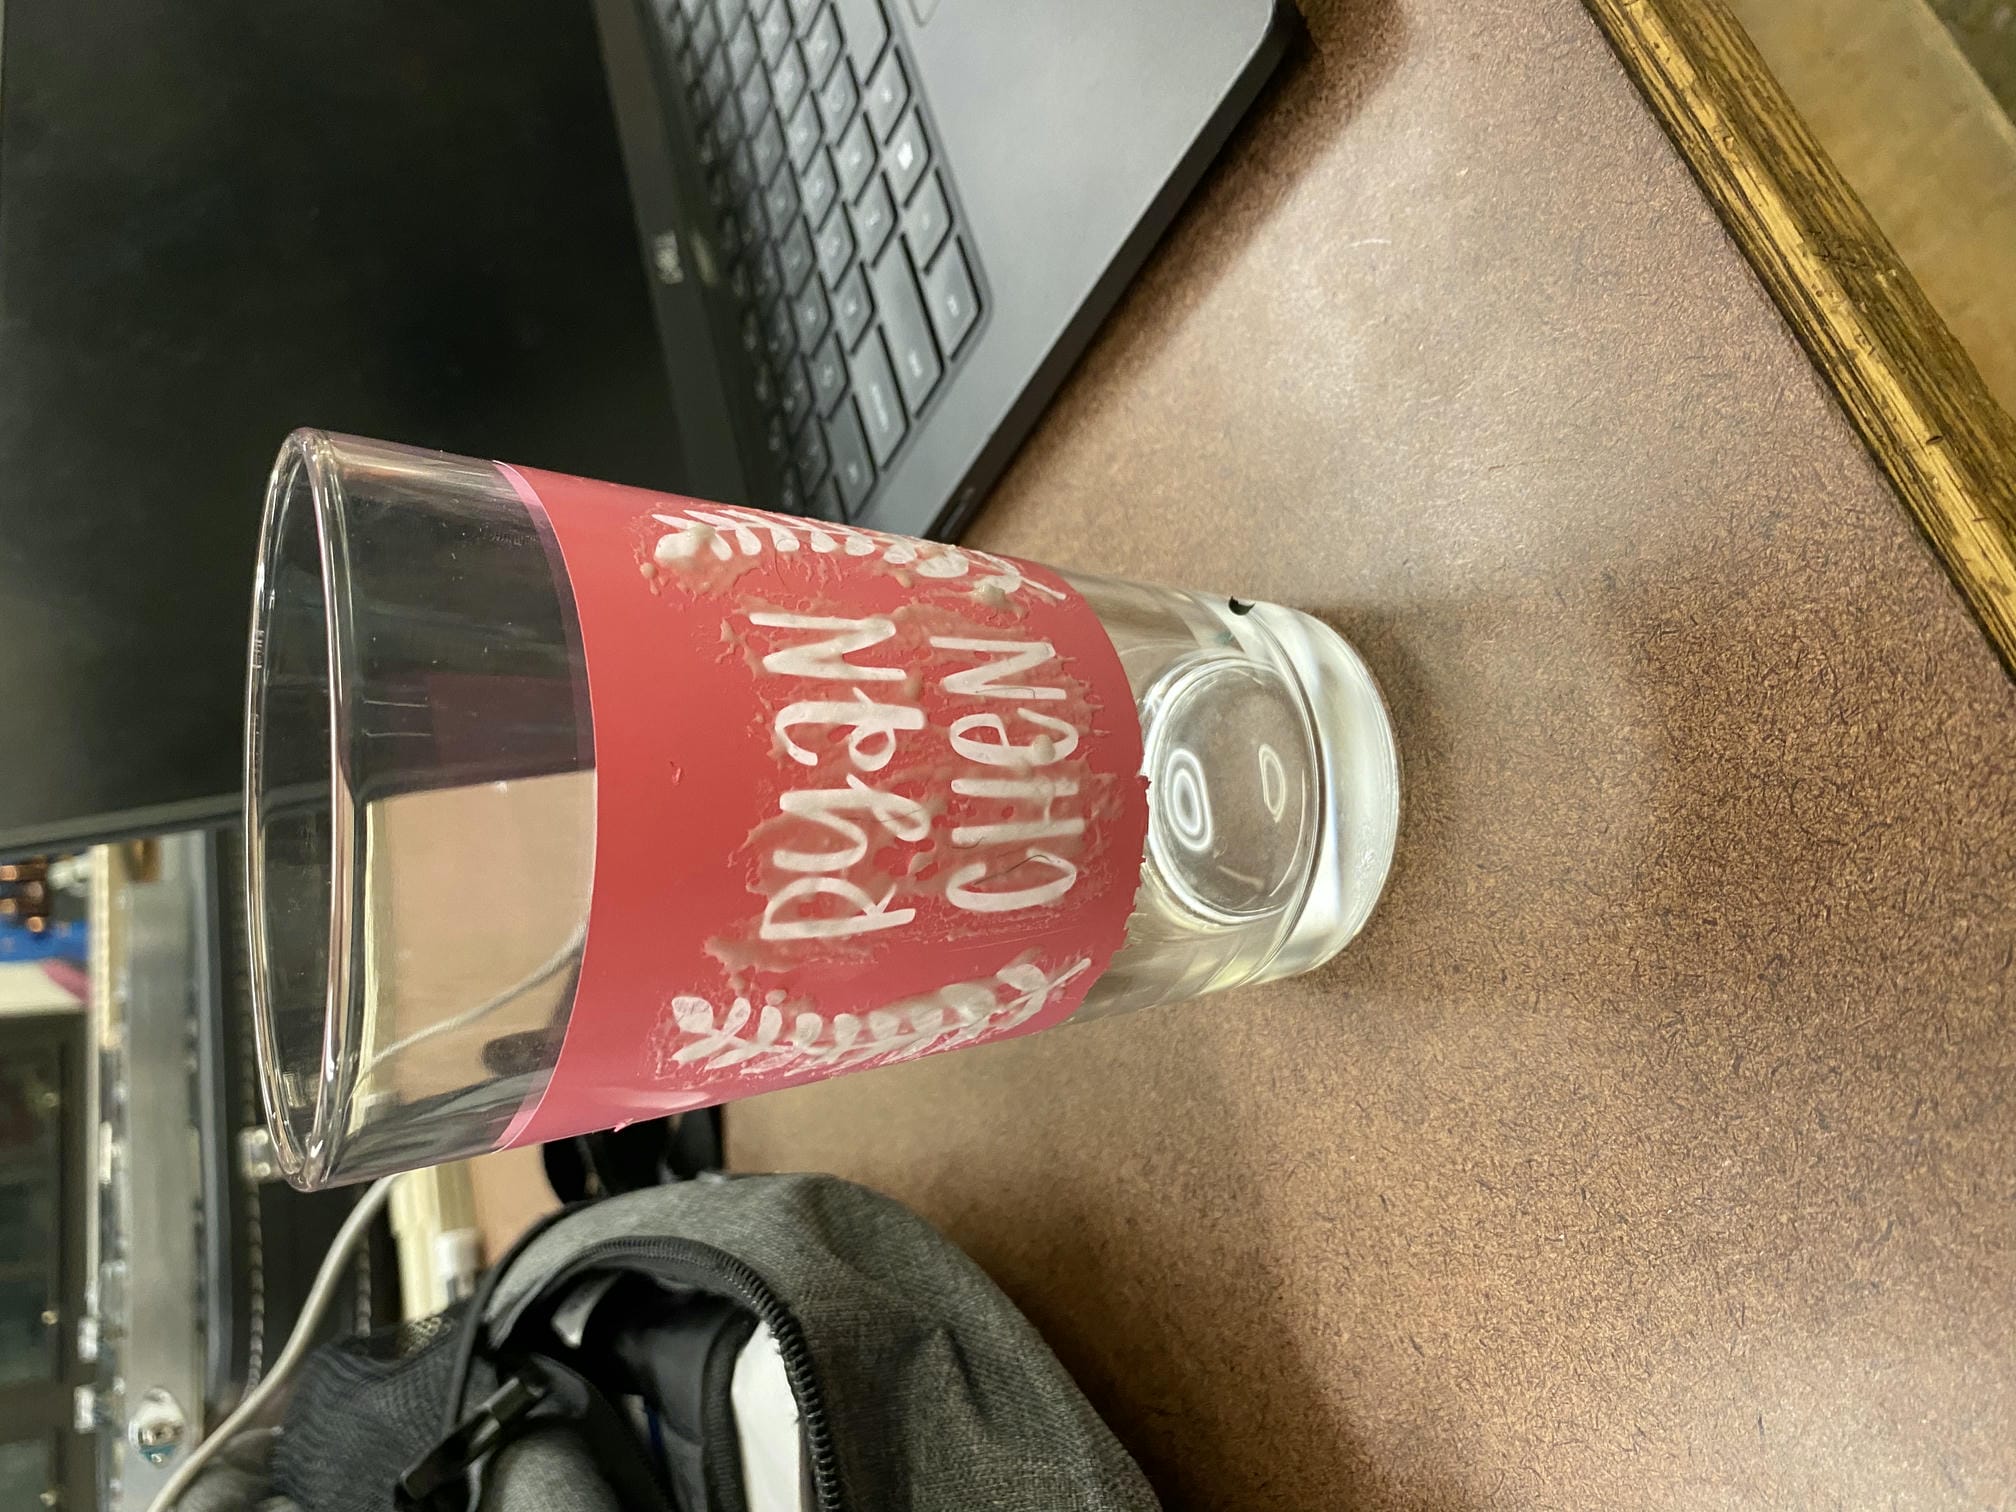
My next projects were in glass etching. I used a Cricut vinyl cutter to first cut a stencil into adhesive-backed vinyl. After using transfer paper to maintain the geometry and transfer the stencil to a glass, I applied etching mask to the glass. This etching mask eats away at the surface of the glass, making it cloudy. I learned that some glasses are treated, so you need to either look up or test whether your glasses are compatible with the mask beforehand to make sure it'll work. Otherwise, nothing will happen to the glass at all! During this process, you should use gloves because the chemicals are pretty nasty.
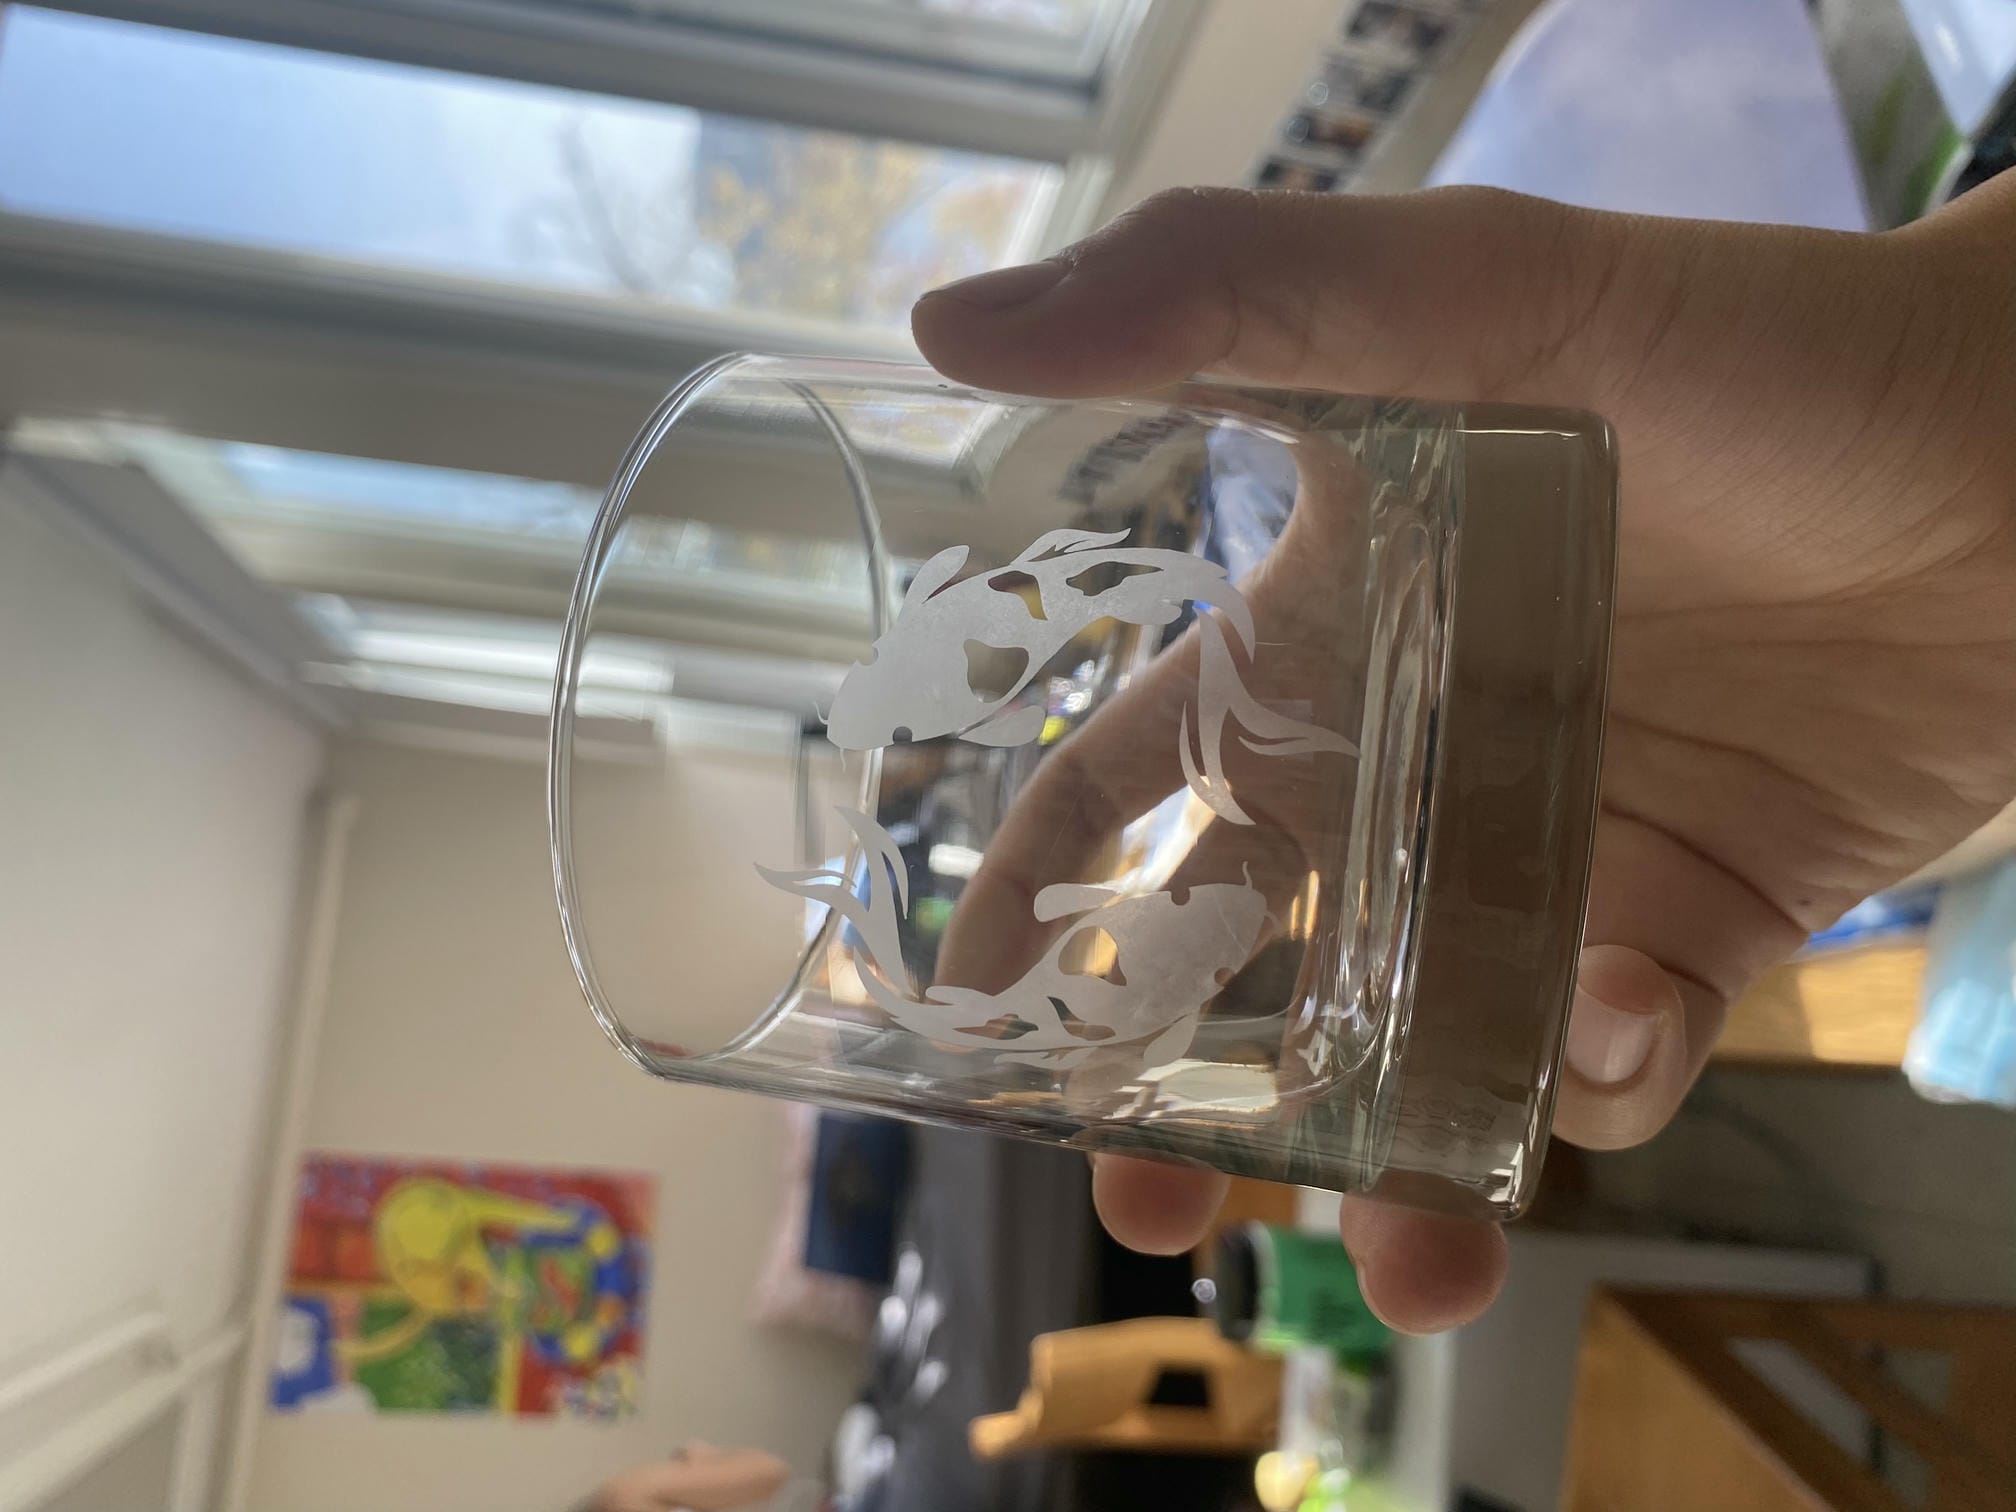
After letting the mask stay on for 1-3 minutes, you're good to wash the mask off and remove the stencil, revealing your awesome design when dry! I've made a ton of gifts this way - check out a few of them!
